Editing Guide
To be able to make changes to the course outline template you must have access as either an Administrator or Editor. Course Coordinators have automatic Editor access to their Course Outlines.
For Editors & Administrators
If you have any corrections or additions, please send your suggestions to the Course Outlines Support Staff.
For browser and operating system compatibility please refer to Recommended Browsers guide on the Support page.
Course Outlines Between Multiple Years
Course Outlines for the following year will be ready to edit in October each year.
The Course Outline contains all active (published) content from the previous year of the Course Outline. Content that remains in draft or awaiting approval in a previous version is not published (visible).
The date for publication of Course Outlines is 1st December each year. At this time, all active content from the previous year’s version will be published. It is critical that all active content in Course Outlines that has been copied over from the previous version is reviewed and where necessary updated before this deadline.
Any changes that have been made in the PeopleSoft Course Catalogue will be reflected in the Course Outlines and where new courses have been established, there will be shell Course Outlines created ready for content entry.
When you search for your Course Outlines, previous versions will be returned and displayed in a chronological order. It is possible to edit previous versions, however the focus is now on preparation for publication of the latest Course Outlines.
Detailed information about editing and updating Course Outlines is available at on this page.
The guide
-
Editors
Log in
The Course Outlines are available at: http://www.adelaide.edu.au/course-outlines/.
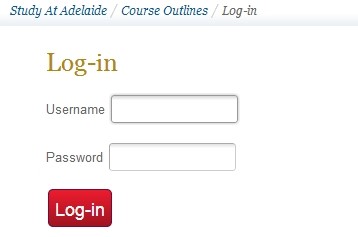
Select Log-in from the top right corner of the Course Outlines home page:

Enter your network username (a1234567) and password:
Find your Course Outline
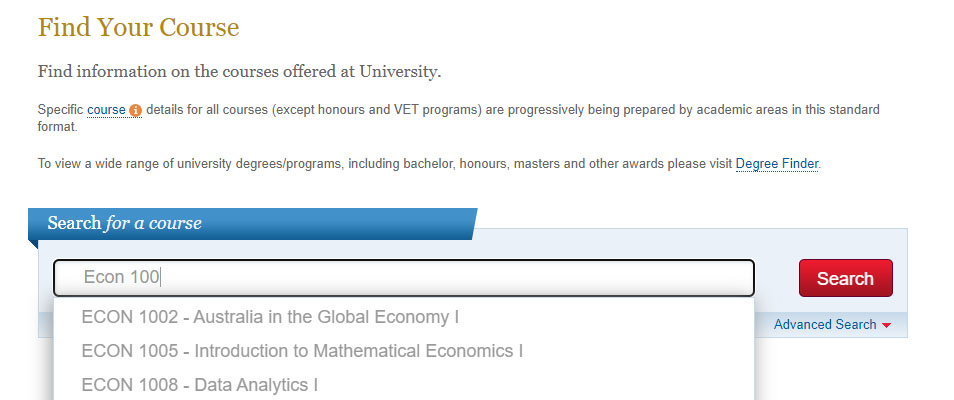
Enter either a course subject area or key word in the Search for a Course section, then select the required course from the drop down list. *Please note special characters such as %,*,&,#,@ will not bring up the course.
A list of available Course Outlines will be displayed in a chronological order.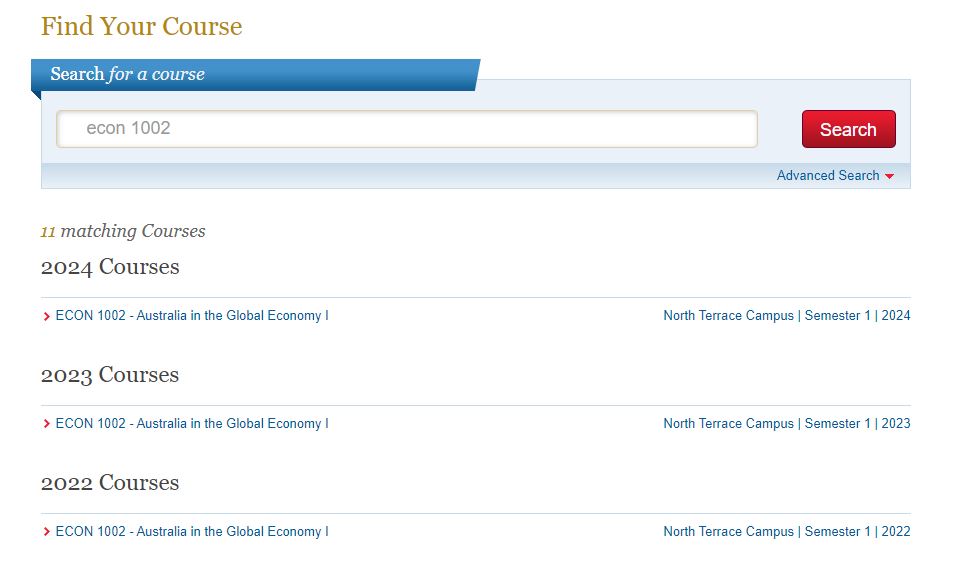
Select and open the required Course Outline.
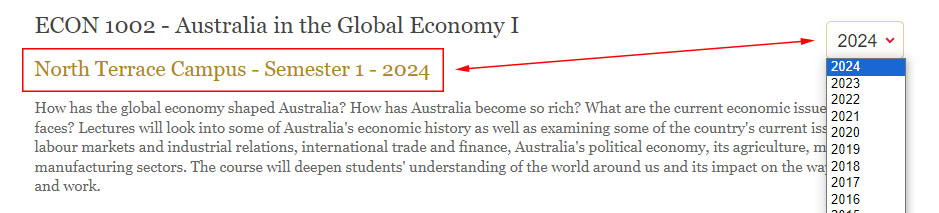
After selecting the correct year to edit the page will reflect the semester and Year below the course title. You can change the year from within the course outline using the drop-down list at the top of the page:
Alternatively select from a category in Browse course by faculty or subject area to display a full list of Course Outlines for that area.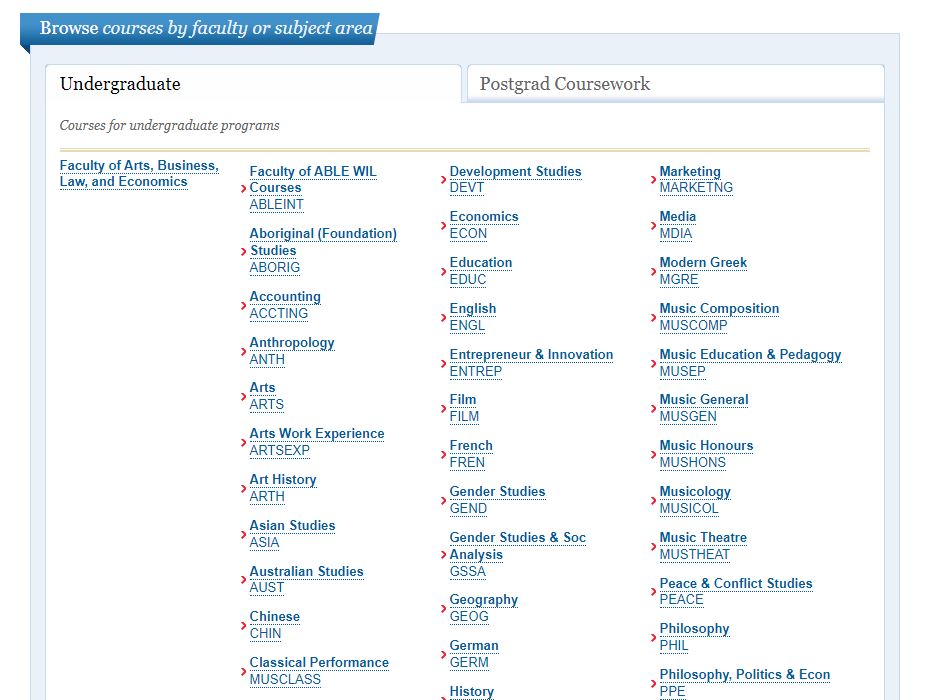
Save and submit
There are three possible states for Course Outline Content.
- Active – content has been approved by an Administrator and is Active (published) in the Course Outline.
- Draft – content is under development, it can be accessed and saved in draft form until such time as the content is final and ready to submit for approval.
- Awaiting approval – content has been submitted by an Editor ready for approval by an Administrator. Once approved it will become Active (published).
Editors
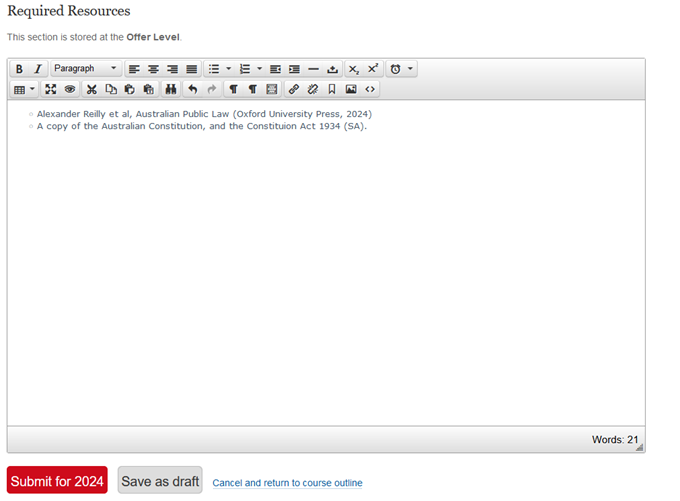
Select the “Edit Active” link in the Content Zone to open the editing window.
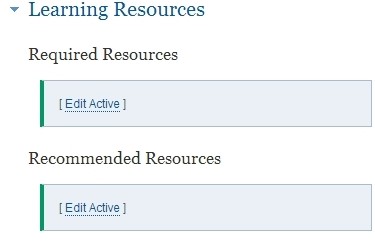
If nothing appears in the editing window, there is currently no active (published) content.
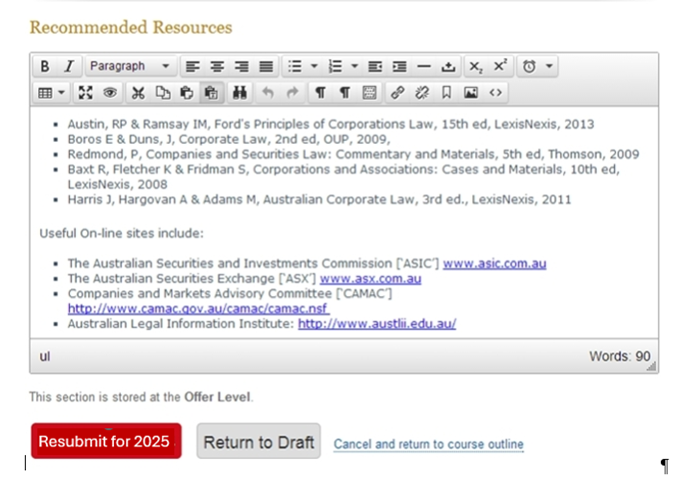
Enter your text or copy and paste from an existing source.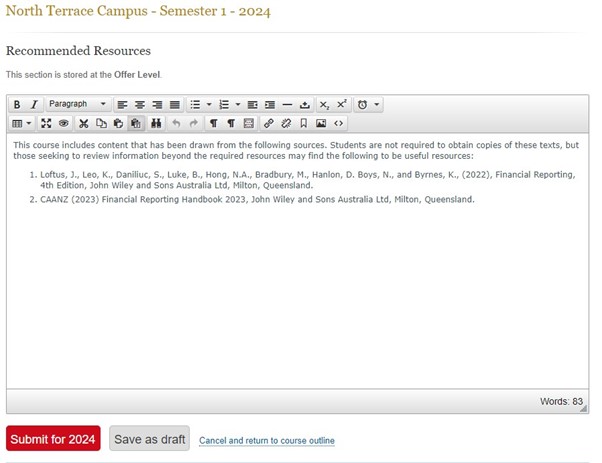
- Select Save as Draft to return and continue editing at a later stage.
- Select Submit if the content is final and you want to submit for approval by an Administrator.
- Select Cancel and return to course outline if you wish to return to the Course Outline without saving your edits.
- Once you’ve completed editing your course outlines content, please inform the relevant Administrator from your area to log in and approve the submitted content so that it will be published and be visible.
Once you have either Saved as Draft or Submitted for Approval you can view the Draft or Submitted content by selecting View Draft / View Submitted from the content zone.
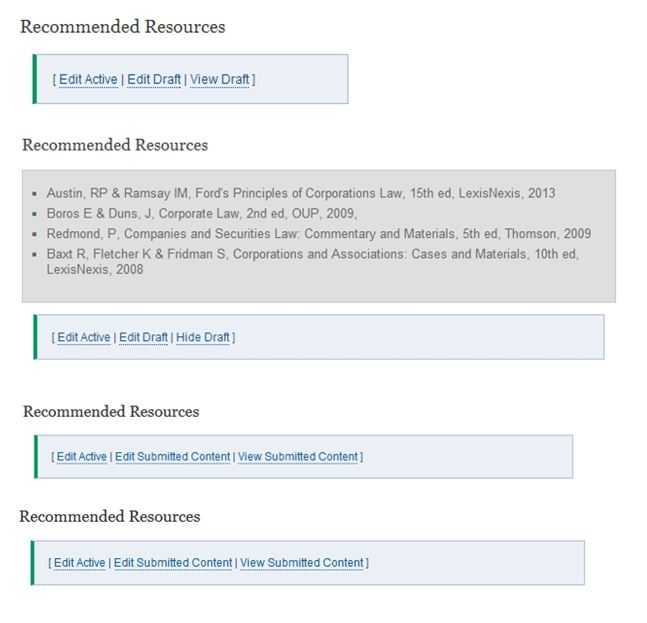
Before Content is approved (published) you can make further changes and either Save as Draft or Resubmit for Approval.
If you Save your changes as Draft you can then View the Draft and the Active content in the Course Outline.
Once content has been approved and is Active, it is published in the Course Outline.
When you have finalised the content you can then Resubmit for the Administrator to approve.Editing Learning Outcomes and Graduate Attributes
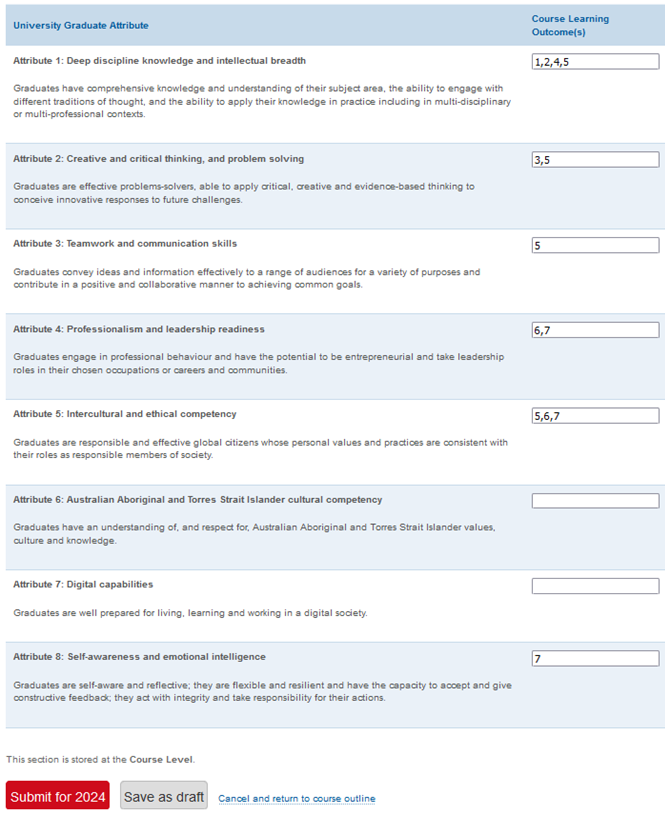
Use the Insert Template button to insert the Learning Outcomes table. Drag the corners to adjust the size as required.

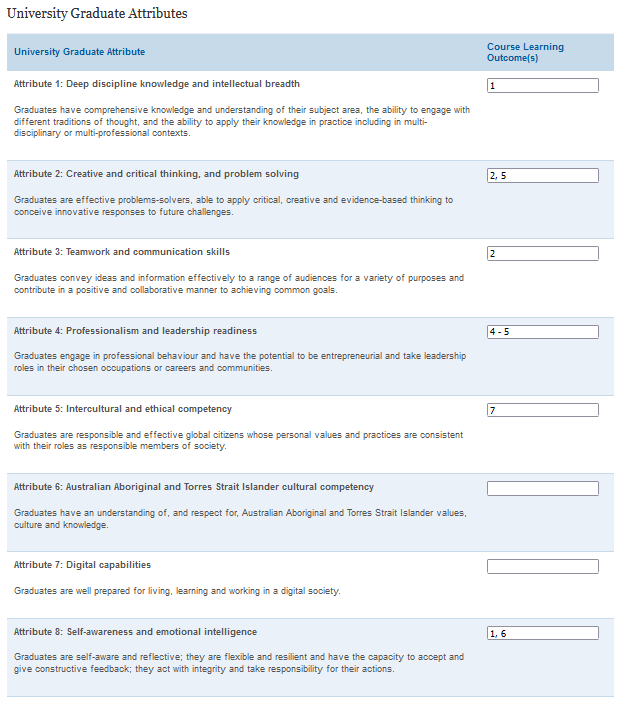
Associate your Learning Outcomes to the Graduate Attributes Not all graduate attributes will be assigned to Course Learning Outcomes. Only assigned Graduate Attributes will be published.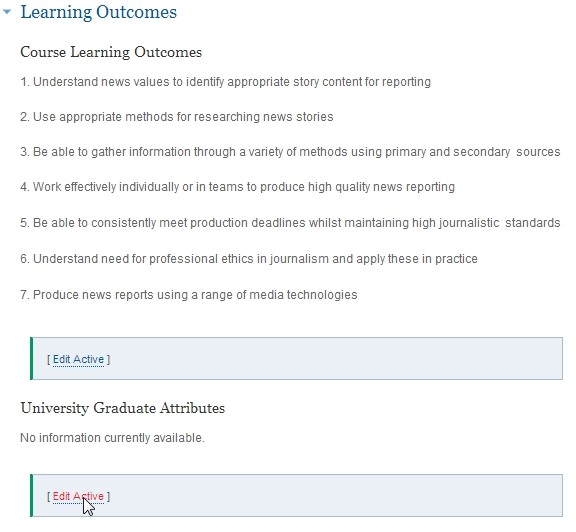
-
Administrators
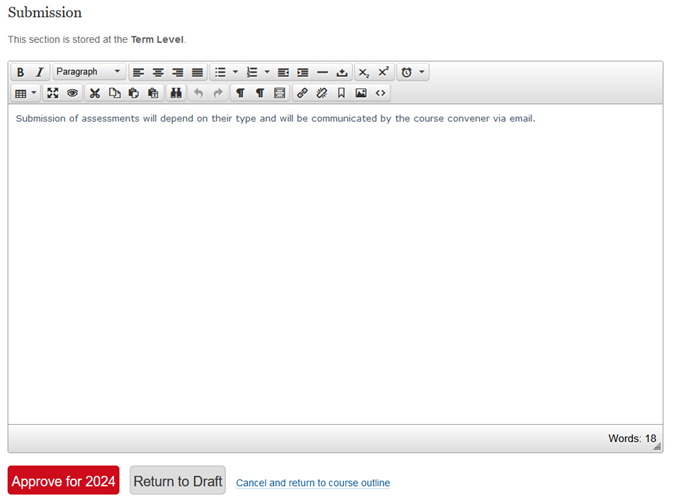
All steps above for Editors are the same except you will see a “Submit” for the given year button in the edit window. Once you select, approve, this will move content directly to “Active” (published).
Course Outlines between multiple years
The Course Outlines contain all active (published) content from the previoius year’s Course Outlines. Content that remains in draft or awaiting approval is not published (and visible)
The date for publication of the following year’s Course Outlines is December 1st. At this time, all active content will be published so it is critical that all active content in Course Outlines (that has copied over from the current year) is reviewed and where necessary updated before this deadline.
Any changes that have been made in the PeopleSoft Course Catalogue for the following year will be reflected in the Course Outlines for that year and if new courses have been established, there will be shell Course Outlines created ready for content entry.
When you search for Course Outlines, all year versions will be returned. (December 1st).
Select the required Course Outline to open ready to edit: by determining the correct year the on the drop down.
To review and approve content submitted by an Editor select the Approve Submitted Content link.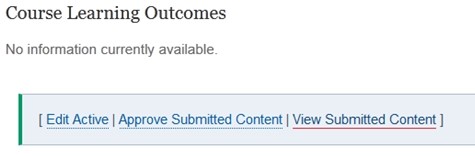
You can then either:- Approve (publish) or
- Return to Draft for further editing (either by you or the Editor)
Once content is Active, if further changes are made and submitted you can view the Active and new Submitted Content in the Course Outline.
For Administrators please access the Admin panel.

You can access the following services:Administration
Functions available only to designated Course Outlines administrators and editors:
- Documentation – All documentation for Course Outlines.
- Dashboard – Graphical representation of the state of outline sections.
- Approve – View a list of pending changes for courses that you administer.
- User Management – View administrators and editors for access to Course Outlines
- Reporting – View a list of reports on Course Outlines
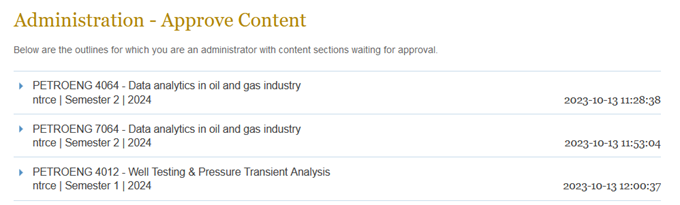
Please select the Approve link to be taken to the approval list of course outlines to be reviewed, approved or sent back to draft. This list is in date and time order.
To view the course, there are 2 options available either look at the whole of the Course Outlines by selecting Edit Outline; or you can look at only the sections that have been edited.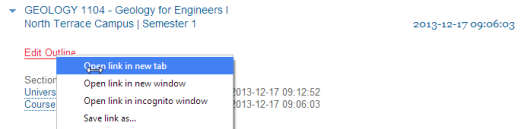
This will then take you to the Course Outline
- Approve (publish) or
- Return to Draft for further editing (either by you or the Editor)
Tables
To merge cells in a table:
- Highlight the relevant cells.
- Right click on the highlighted area and select the cell dropdown.
- Select 'Merge Cells'.

(Optional) Select the align centre button to centre the text: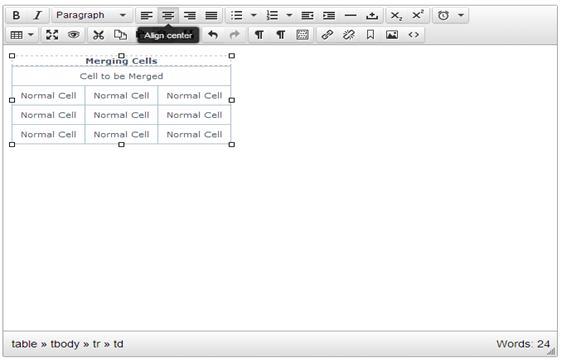
Formatting
Whilst transferring information from Microsoft Word and PDF documents, formatting features such as indentations and bullet points can be omitted or distorted.
This can be seen in the following images:
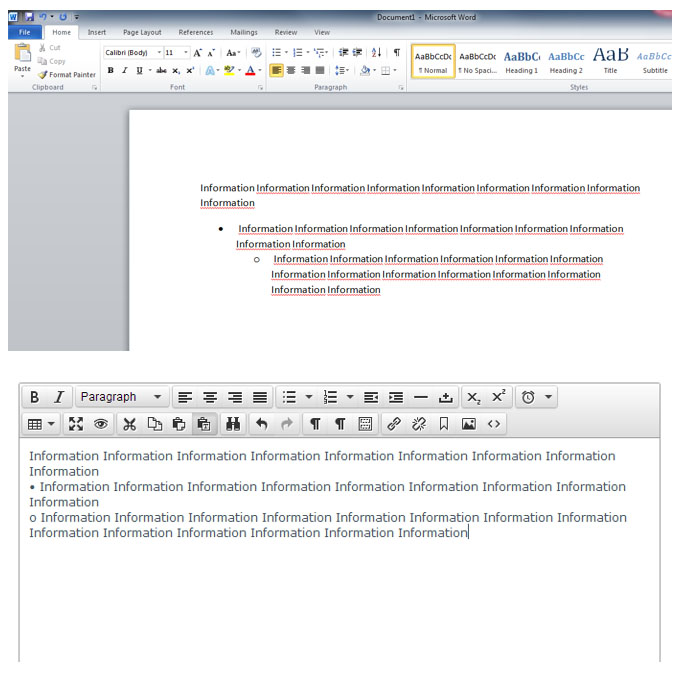
When this occurs there are steps that can be taken to achieve a desired format utilizing the TMS.Indentations
To indent sentences and paragraphs simply locate the ‘Increase Indent’ button on the TMS toolbar.

Once this is done highlight the appropriate information and click the ‘Increase Indent’ button.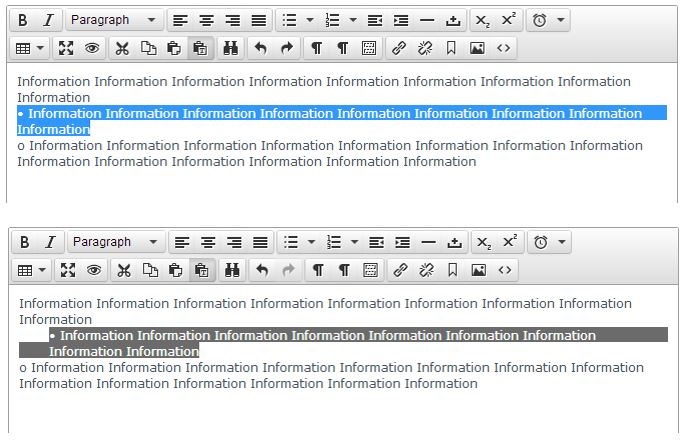
Bullet points
To create bullet points within the TMS, it is possible to simply press the ‘Bullet List’ button.

However, to obtain more control over format of the bullet points, it is advised that the appropriate information is indented first.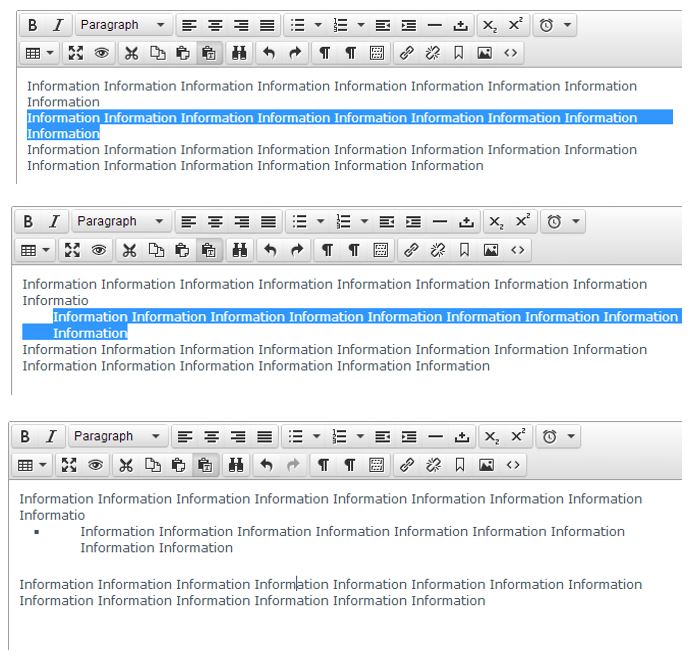
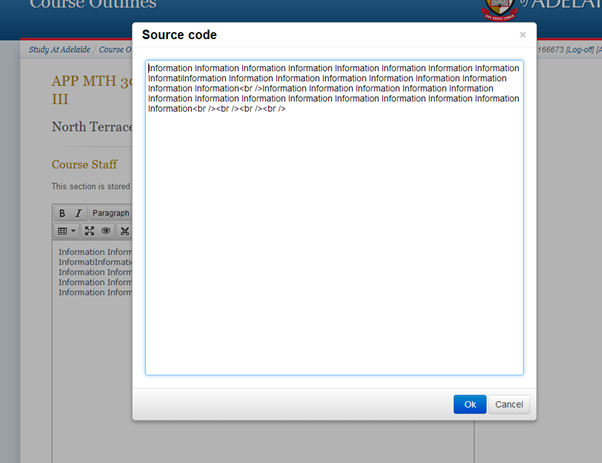
Source code
Utilizing the ‘Source Code’ button can be very useful when submitting multiple Course Outlines that contain identical or similar information. Using this method, it is possible to transfer exact duplicates of both information and formatting from one Course Outline to another.
To achieve this simply locate the ‘Source Code’ button on the bottom right corner of the TMS toolbar.
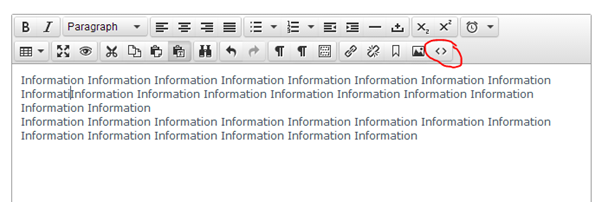
Selecting this button will open a small window containing the Source Code. As the Source Code contains all of the information and formatting, it is easy to highlight and copy it from one Course Outline section to another.