Covering the Cased Book
Cover to Cover: Exposing the Bookbinder's Ancient Craft
Rarely were the boards of a book cased in cloth attached before covering. Instead they were cut to a size proportionate to that of its pages.

This large Italian round brush is made of natural hog hair bristles and is mounted on a solid wooden handle. Its stiff bristles make it perfect for applying PVA, paste and other cold glues as well as hot hide glues. The large brush is preferred by many binders as it holds enough glue to prepare a cloth cover in one go.
The square, or projection beyond the book edge, varied depending on the item to be covered but it was usually about one sixteenth to a quarter of an inch. The binder selected the thickness of the board based on the weight and size of the book, careful never to use boards that were too heavy for a small book or too light for a large one. Knowledge of the different types of cloth and how they would look and feel on the boards once applied was also an important consideration.
The cloth for the cover was cut to a size slightly larger than the book; an extra half inch or so required for the margins. Usually its length was cut along the width of the material so that any warping threads would run head to tail of the book, as in the grain of the paper. This minimised the likelihood of the cover stretching at the book’s hinges and the boards warping as a result.
The cloth was next placed on a piece of waste or newspaper. Using a glue of a thin to medium consistency and a large brush, the binder then glued the cloth. Holding it with spread fingers near its edge, he or she brushed the glue from the centre outwards, taking care not to lift the brush off of the cloth until it reached the waste paper. The binder then held the glued end of the cloth down with thumb and finder only and pasted the other side. A quick surface check was performed and any lumps of glue or stray brush bristles were removed, to ensure a smooth cover.
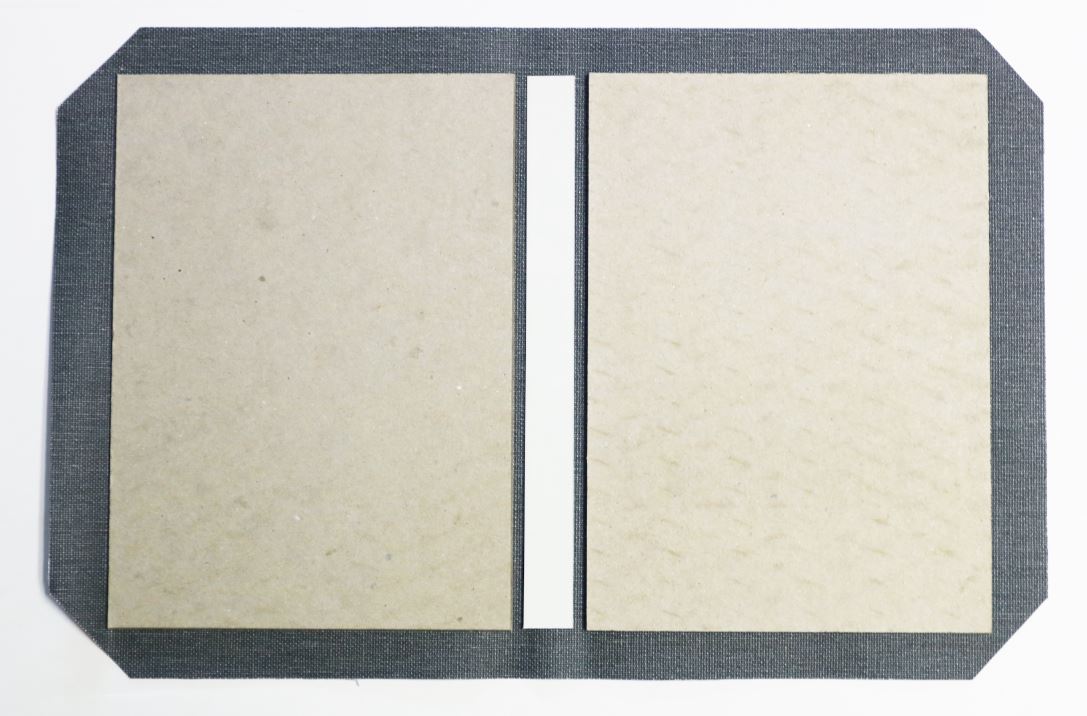
Case construction. A simple template of the cased book cover. The cloth margins would be turned over the boards to complete the construction.
The glued cloth lifted from the newspaper and moved to one side, the case was then constructed. The book, with the boards placed and aligned on its front and back, was gently laid on the cloth and squarely positioned. A ‘loose hollow’, or piece of card cut to the length and width of the back of the book, was then laid next to the joint of the book. The binder then took hold of the edge of the remaining cloth and pulled this firmly over the back of the book, collecting the loose hollow with it in the process. The back of the cover was then lifted, the book itself removed and the whole cover left flat on the bench ready for turning in the margins.
First, the four corners of the cloth were cut away at 45 degrees, leaving an amount at the point of each corner equivalent to two thicknesses of the board. The cloth margins were first turned over at the head and tail of the book, the binder ensuring that they gripped well to the board edges and to the loose hollow first before firmly pressing them to the inside surface. The small amount of cloth at the corners was gently coaxed over the board with a bone folder and then the fore-edge margins were turned onto the boards. The completed cover was then turned over and the whole rubbed down firmly, usually with a piece of paper over it to prevent any damage. The headcaps were moulded with a pointed folder as in the process for leather covering.
Finally, the hollow spine which had been made for the back of the book during the lining operation was lightly glued. The book was placed on the back half of the cover and the front drawn over the glued hollow lining. The spine was rubbed down thoroughly, the book pressed whilst the cover dried, and the endpapers trimmed to size if necessary. The sewing tapes, still protruding slightly from the back lining, were frayed if desired and glued lightly to the front and rear endpapers. The endpapers were then pasted, usually with a protection sheet under them to avoid damage to the book, and then brought down, along with any exposed mull from the lining, onto the inside of the board, thus forming the ‘paste-down’. The book was then pressed.

Did you know...?
Unlike the majority of later leather bindings, the inside board of the case binding was rarely ever lined. This meant that you could see a distinct depression around the margins, as well as impressions of the mull lining and linen tapes near the spine.
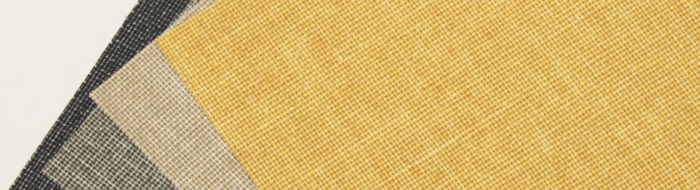
On display in this cabinet were the following cloth covers:
Note: The patterns here have been magnified for ease of viewing.
 |
 |
 |
 |
 |
 |
 |
 |
 |
 |
 |
 |
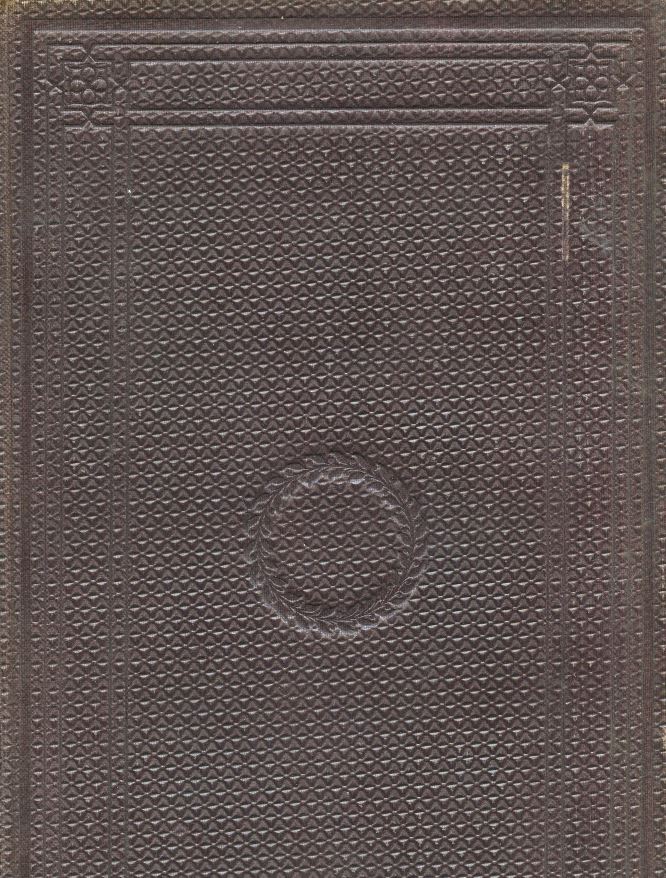
More on the Cloth Pattern Known as 'Engraved Moiré'

Debates in the Houses of Legislature... South Australia Parliament. 1881
Cloth pattern: Engraved moiré
There is a difference between the engraved moiré pattern and true moiré. The grain of true moiré is created by the random intersections of two ribbed surfaces. The smooth rollers of a calender machine would compress two layers of cloth, their ribbed surfaces face to face, thus creating a watered effect. Engraved moiré, on the other hand, employed the use of an engraved roller with a shallow indenture or engraving cut in it. The bookcloth was thereby embossed with a very precisely engraved design that often so perfectly mimicked the moiré effect that it was difficult to distinguish between them. True grain moiré, when viewed under a loupe had an unbroken rib, unvaried in width but along its width it could appear narrow or completely flattened where the ribbed surface of the top piece had been crushed down against the ribs of the bottom piece. In contrast, an engraved moiré pattern revealed a line created by the engraver’s burin that varied in width from thick to thin. This pattern has been in used from the 1830s.
For more cloth pattern examples, see the cabinet on "Cloth".
Lee Hayes
May 2018


