Exhibitions
The University Library's rare and unique collections are showcased through online and physical exhibitions, often in collaboration with a range of partners across the University and wider community.
-
Past Exhibitions
Unsettling Certainties
In collaboration with The Society for the History of Emotions, this exhibition explored the theme Unsettling Certainties through artworks, objects and historical texts in the University of Adelaide’s collection.
Entwined
Have you ever played string games? Well, you might have Honor Maude to thank. The University of Adelaide is excited to present Honor Maude’s research collection in Entwined: string games across cultures.
50 Years Proud: Queerness on Campus
Fifty years ago, the University of Adelaide’s students were prominent players in the fight for Gay Liberation. This exhibition featured student magazine, On Dit, providing a social and historical record of student life.
University of Adelaide Theatre Guild's 85th Anniversary
This display showcased collection items highlighting the history and achievements of South Australia's second oldest amateur theatre company.
Let Our Songs Speak for Us
Celebrating 50 years of the Centre for Aboriginal Studies in Music.
Face to Face: Embracing Portraiture
Described as a cultural mirror, portraits are where art, biography, history and identity collide. During its history the University of Adelaide has collected portraits of our leaders and great thinkers to adorn our walls.
Face to Face: Embracing Portraiture
South Australian History Festival: Stories from the Archives, from Foundation to Federation
This exhibition showcased a selection of documents from the State Records of South Australia as well as the University of Adelaide Library's Special Collections from the time of first European settlement to Federation in 1901.
Stories from the Archives, from Foundation to Federation
Campuscapes
The artworks in this exhibition offered the opportunity to consider how the University of Adelaide’s North Terrace campus contributes to our well-being and experience of education and research. These artworks show the evolution of the campus in response to the changing needs of our students and staff. Take a bird’s eye view of the campus through the ages, and discover what connections you have to the landscape.eMotion
The work of four international photographers, the Beninese Ishola Akpo, the Brazilian Edu Monteiro, American David Schalliol and Spanish Lourdes Segade,photographers, is crossed with a graphic project combining real and imaginary spaces and making two modes of expression interact to better discover the places visited.Play with Pride: Celebrating 125 Year of Adelaide University Sport
Uncover historical photos pasted-up on buildings across the North Terrace Campus, showcasing 125 years of Adelaide University Sport. Chosen by key figures in our sports community, each image has been thoughtfully selected from the archive for you to discover.Community Legends
This exhibition celebrated the kindness and resilience shown by individuals within the University of Adelaide. Our Community Legends were nominated by their peers, colleagues and those who saw them go the extra mile. These portraits created by local artist, Fruzsi Kenez, honour the contributions they have made to our community.Art in action: creation of the World of Ideas mural
The World of Ideas mural is inspired by the heritage gift collection, which highlights the global engagement and connections the University has around the world. An accompanying exhibition displays the inspiration for this artwork, showcasing the connections of Adelaide’s global university.Reflections: Connecting to Country through Art - 26 October to 27 November 2020
In a collaboration between the University Library and Wirltu Yarlu Aboriginal Education, the artworks on display in this exhibition were selected by our Aboriginal and Torres Strait Islander staff and students from the University's stellar Indigenous art collection.Australian of the Year - 24 August to 8 November 2020
A travelling exhibition from the National Museum of Australia developed in collaboration with the National Australia Day Council.125 Years - Aboriginal Women's Suffrage
This art exhibition featured the creative talents of photographer Colleen Raven Strangways of Nharla Photography. Her contemporary portraits of Aboriginal women capture a determined spirit, resonant with the suffrage movement 125 years ago, and vital in the fight for equity for First Nation Australians.125 Years - Aboriginal Women's Suffrage
The Significant Life of R.A. Fisher: Mathematician / Statistician / Geneticist
The exhibition explored the achievements of this gifted thinker, through his research papers and own writings which were donated to the University of Adelaide Library. To this day, Fisher’s extraordinary contributions continue to influence in many branches of human thought and endeavour.The Significant Life of R.A Fisher
Museum of Words: Poetry in the Hub
How do we exhibit objects without a space for them to be physically exhibited? This is what Museum of Words: Poetry in the Hub set out to answer. We invited staff and students to engage poetically with objects from the University’s collections.History of Book Illustration
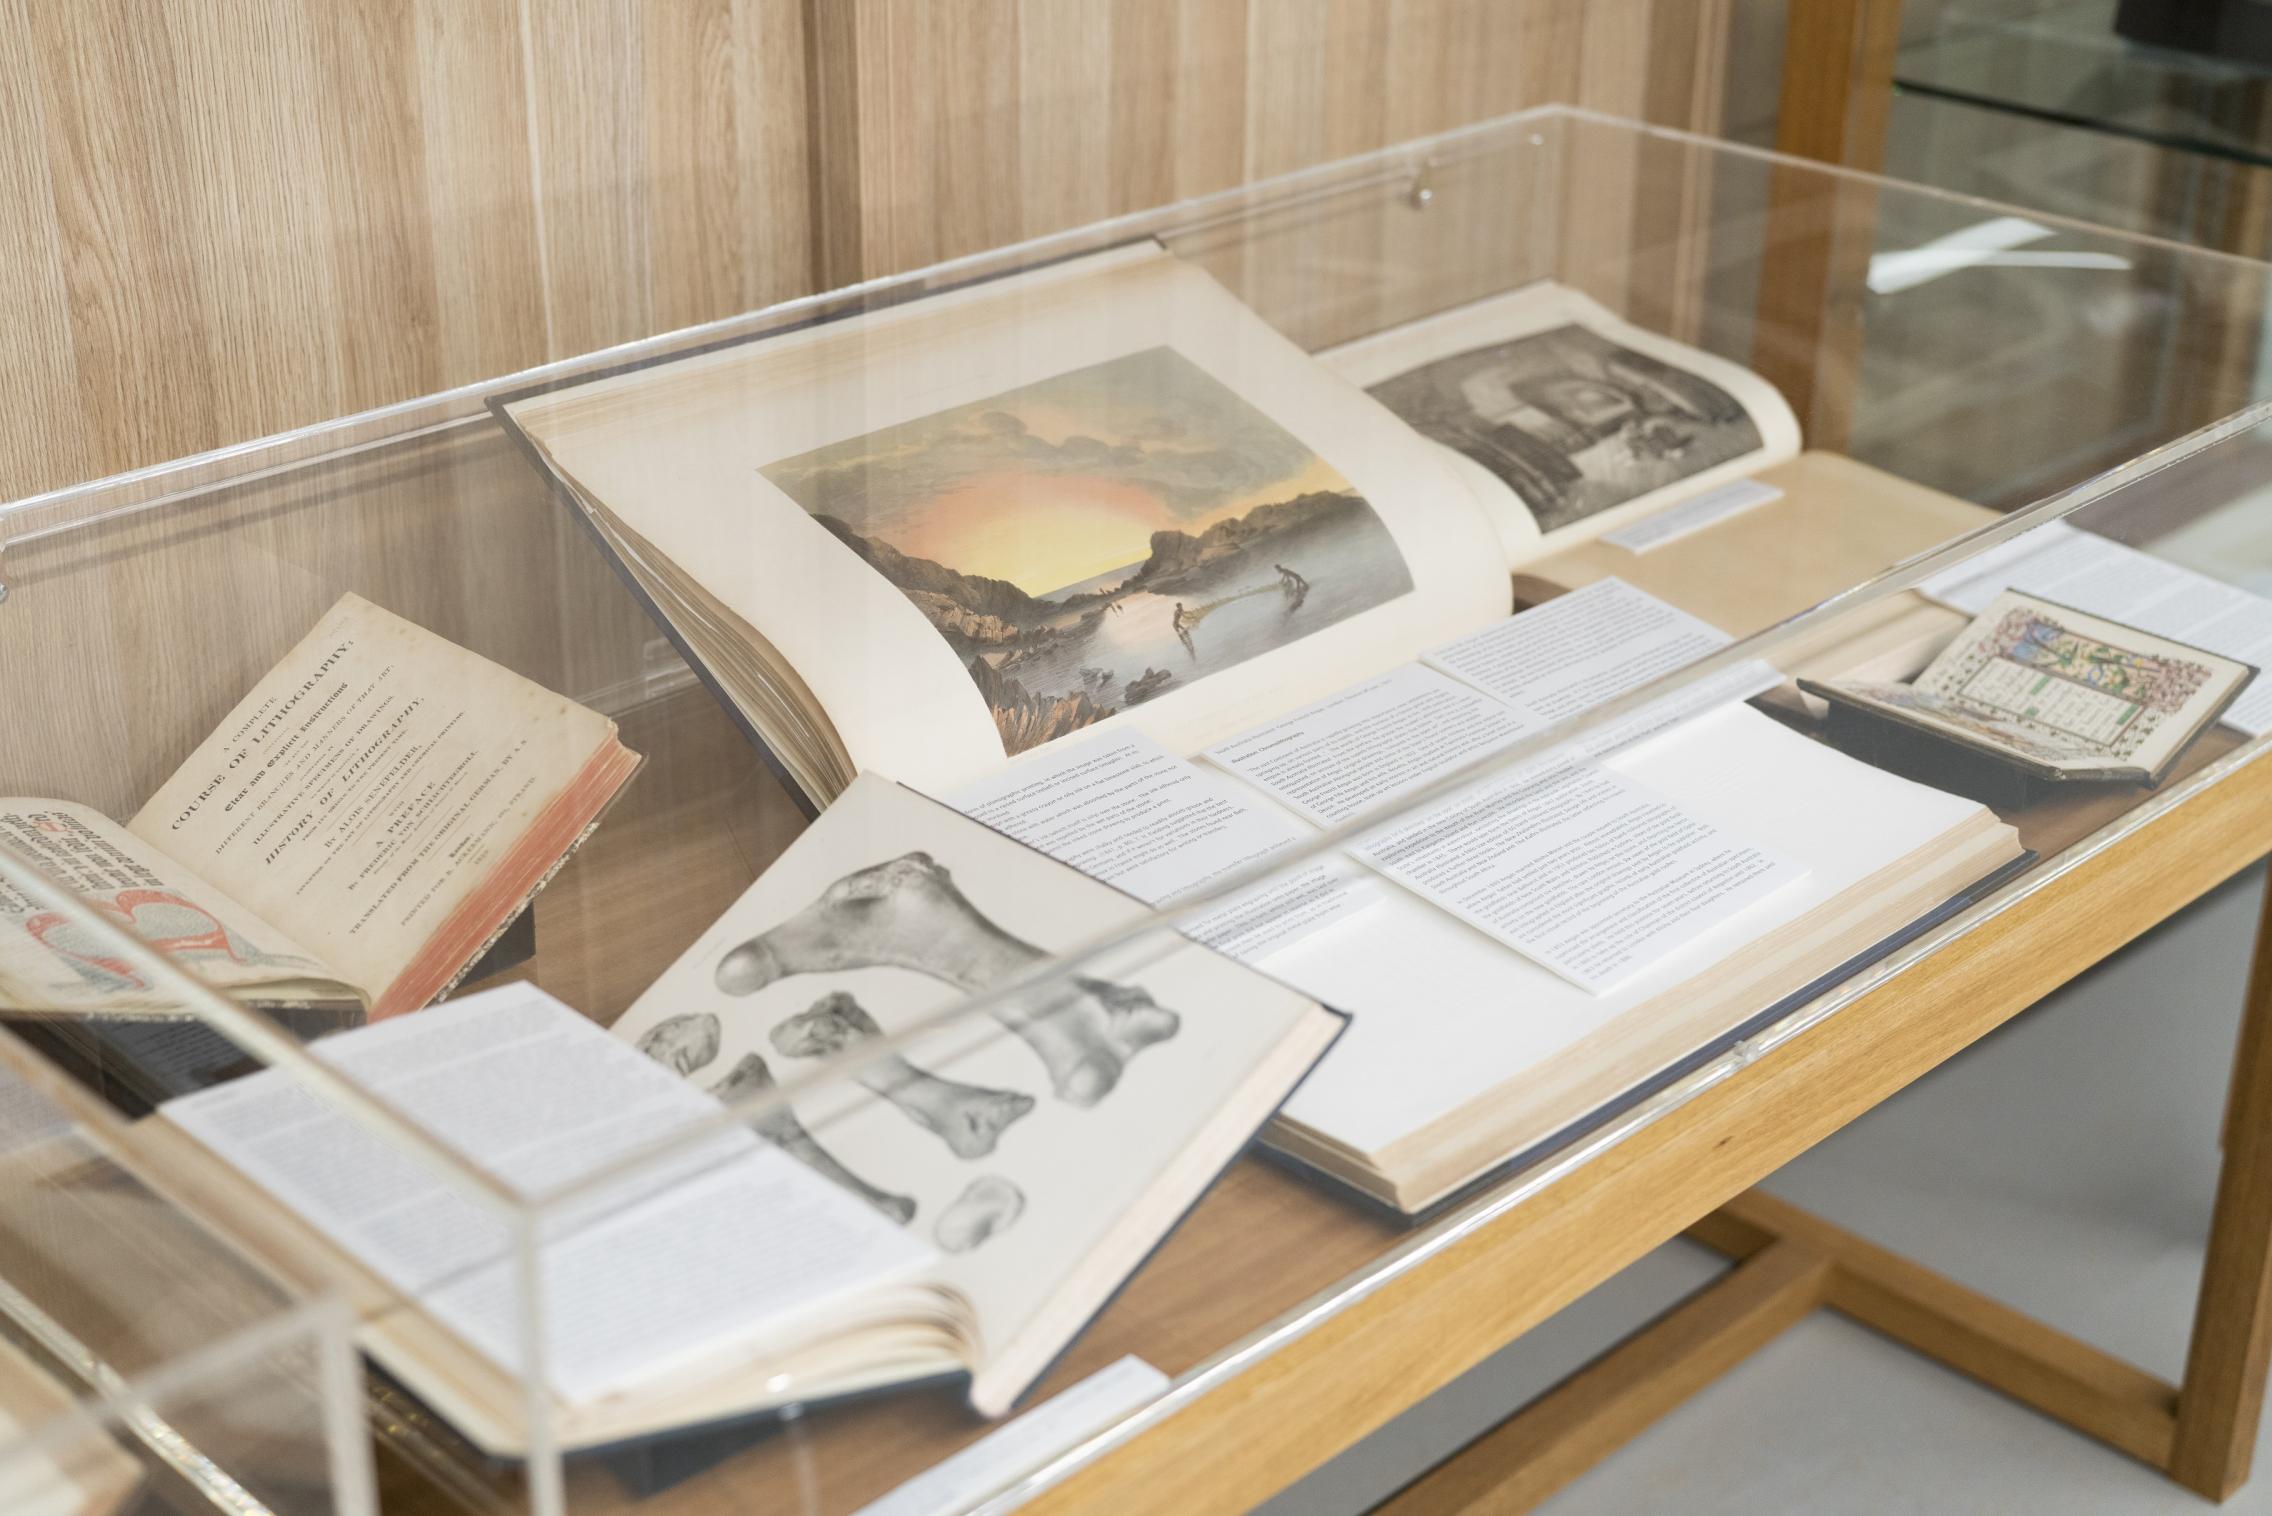
Is a picture really worth a thousand words? From woodcut to lithograph, this exhibition explores the history and methods of book illustration, and sheds light on the important role that co-existent images and text play in the transfer and retention of meaningful knowledge.Cover to Cover: Exposing the Bookbinder's Ancient Craft
From forwarding to finishing, and all of the steps in between, this exhibition celebrated the bookbinder, and the unique combination of utility, dexterity and artistry required to excel at this ancient craft.Student raggers and radicals: Student activity and activism from 1880
The University of Adelaide was founded in 1874 on the Oxbridge tutorial model, and our students happily embraced the tradition of raucous high spirits and ragging, nearly always characterised by a joyful sense of humour.Have Book, Will Travel: Mapping Provenance in Rare Books & Special Collections
From America, England, Europe and even Antarctica, many of the books held in Special Collections have travelled far and wide to get here. This exhibition showcased just how far some of these books have come, based on the inscriptions and bookplates found inside their covers.Bound to Please: The Iconic Victorian Binding in an Era of Industrialisation and Mechanisation
This fascinating exhibition explored the evolution of the book as it transitions away from the traditional methods of hand-binding towards the exquisitely gilt-blocked and mass-produced publishers’ cloth binding.140 Years of Books
In celebration of the University of Adelaide’s 140th anniversary, Rare Books & Special Collections present ‘140 Books: 1874-2014’, an exhibition of books published in each year of the University’s history.Garden books in the Special Collections of the Barr Smith Library
Although the Barr Smith Library has not deliberately collected works on gardening or garden history, a surprising wealth of material has accumulated from the bequests of major donors such as Sir Samuel Way and Mrs Christine Macgregor. We have also collected works on plant and garden history to support teaching and research in architecture, landscape design, botany, history and literature.
If you are interested in organising an exhibition, please get in touch with the Library’s Exhibitions Coordinator.